Get a Free Orthodontic Consultation from the Comfort of Your Home

Modern Orthodontist Offers Virtual Exams to Make Getting Started More Convenient

How The Virtual Consultation Works

  1. Send us your smile photos, be careful to make the pictures as clear as possible. The better the pictures, the more we can understand about how your teeth look and fit together. Follow the instructions below.
  2. After we receive your photos, our treatment coordinators will work on preparing an estimate for you that includes possible treatment options, treatment length, and costs.* We will even verify your dental insurance to let you know what benefits your insurance plan will offer.
  3. After reviewing your treatment plan, schedule an appointment to get started! At this visit, we will take your official medical records (taking pictures you cannot take at home), make a final plan for your treatment, and get started!

*Please note that your treatment plan is not final until you meet with Dr. Yang for a formal consultation including a thorough review of your medical records.

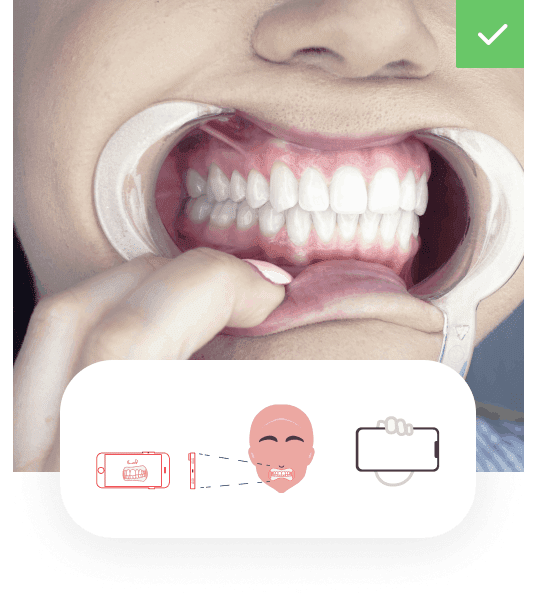
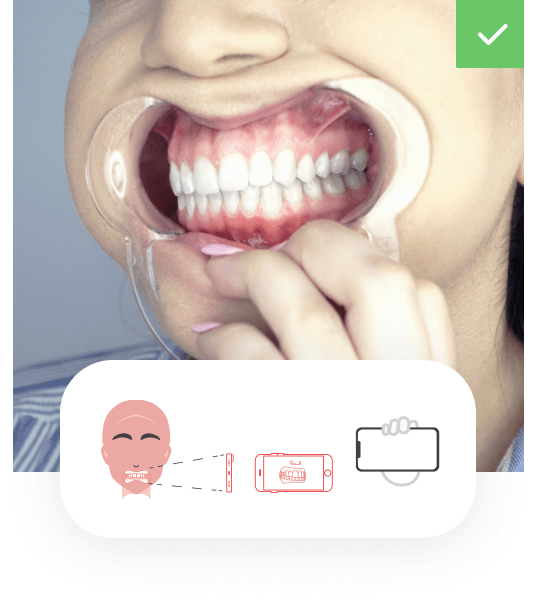
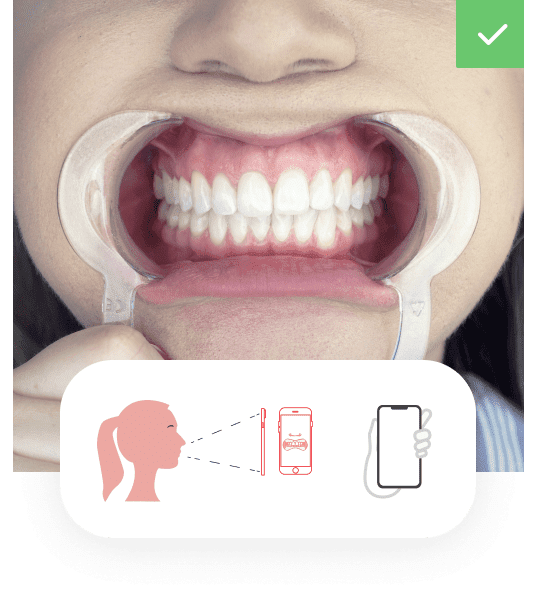
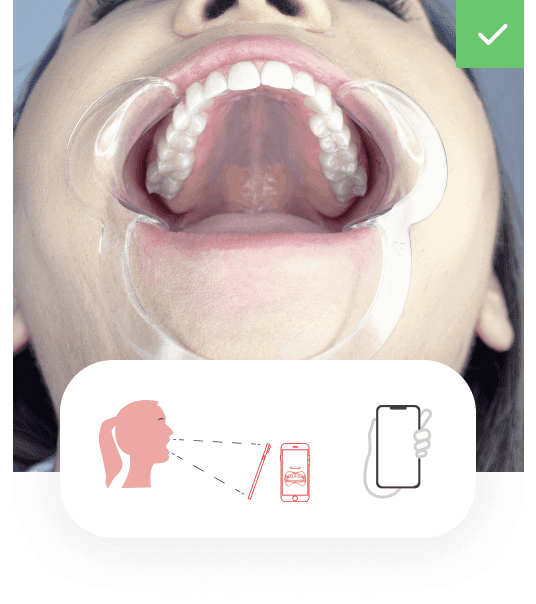
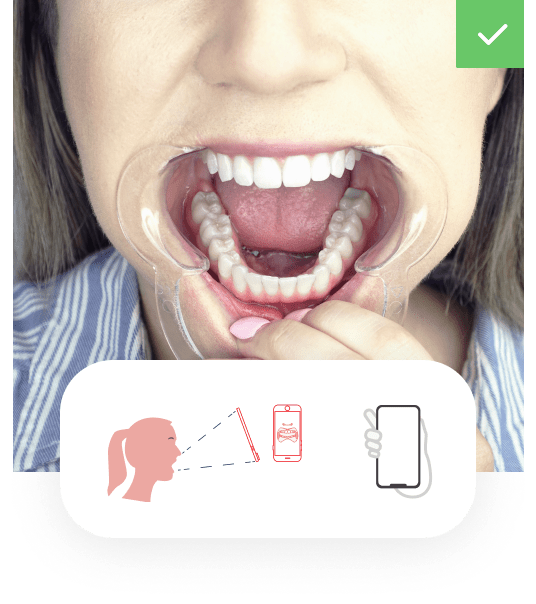
Taking your Smile Photos instructions

Front Bite

  • For the front view of your bite: hold your phone upright, and position the camera straight and level directly in front of your teeth.
  • Even though the retractor makes it a little harder, close your teeth together and bite down. This should be your natural bite, like when you chew.
  • You can use the handle on your check retractors to pull your lower lip down so we can see your lower teeth completely.
  • Take the picture in focus, and close enough so that teeth fill 90% of the screen width.

Upper Teeth

  • For the view of your upper teeth, continue to hold your phone upright with the camera in front of your teeth.
  • Open your mouth wide. If your upper lip is overlapping your teeth, be sure to pull it back.
  • Lean your head back slightly. Tilt the camera back as needed to help us see all of your upper teeth – from front to back!
  • Take the picture in focus, and close enough so that teeth fill 90% of the screen width.

Lower Teeth

  • For the view of your lower teeth, flip the phone upside down and hold the camera in front of your teeth.
  • Open your mouth wide. If your lower lip is overlapping your teeth, be sure to pull it back. You can even pull the handle of the check retractor down if that helps.
  • Pull back your tongue also, please!
  • Lean your head forward slightly. Tilt the camera as needed to help us see all of your lower teeth – from front to back!
  • Take the picture in focus, and close enough so that teeth fill 90% of the screen width.

Right Bite

  • For the right view of your bite, turn the phone sideways parallel to your teeth so that the camera is near your right ear.
  • Bite down with your teeth together (show us the natural position of your teeth when you bite down to chew).
  • Use the handle on your check retractors to pull your right cheek back a little further, so we can see all of the way to the back.
  • Take the picture in focus, and close enough so that teeth fill 90% of the screen width.

Left Bite

  • For the left view of your bite, turn the phone sideways parallel to your teeth so that the camera is near your left ear.
  • Bite down with your teeth together (show us the natural position of your teeth when you bite down to chew).
  • Use the handle on your check retractors to pull your left cheek back a little further, so we can see all of the way to the back.
  • Take the picture in focus, and close enough so that teeth fill 90% of the screen width.